


How to plan a video shoot
Planning a video shoot is one of the most important parts of the entire production process. Many creators focus on cameras, lights or editing tools, but a good shoot usually succeeds because it was prepared properly before recording even begins.
Without a clear plan, filming quickly becomes messy. Important shots are forgotten, technical issues slow everything down and editing becomes harder because the structure was never defined in advance.
In this guide, you will learn how to plan a video shoot step by step so production feels smoother, faster and more professional.
Summary
- Why planning a video shoot matters
- How to define the goal of the shoot
- How to prepare a shot list and structure
- What to check before filming starts
- How to avoid common production mistakes
Why planning a video shoot matters
A good shoot is rarely improvised. Even simple creator videos benefit from preparation because filming always involves more small decisions than expected. Camera position, audio, lighting, framing, sequence, transitions and supporting shots all need attention.
Planning the shoot makes the production stage more efficient. Instead of wondering what to film next, you already know the order of the shots and the purpose of each scene. This saves time during recording and reduces stress.
- It helps you record the right shots
- It reduces mistakes during production
- It makes filming faster and more focused
- It gives editing a clearer structure
- It improves the overall quality of the final video
A planned shoot is easier to film, easier to edit and much easier to repeat consistently.
Start with the goal of the video
Before planning the shoot itself, you need to know what the video is supposed to achieve. A tutorial, a product demo, a vlog, an educational YouTube video and a short social clip do not require the same structure or the same footage.
Defining the purpose of the video first helps you decide what needs to be filmed and what does not. This avoids wasting time on shots that add no real value to the content.
- Is the goal to teach something?
- Is the goal to show a product or process?
- Is the goal to tell a story?
- Is the goal to publish a short-form social video?
Once the goal is clear, the shoot becomes much easier to organize because you know what the viewer needs to see.
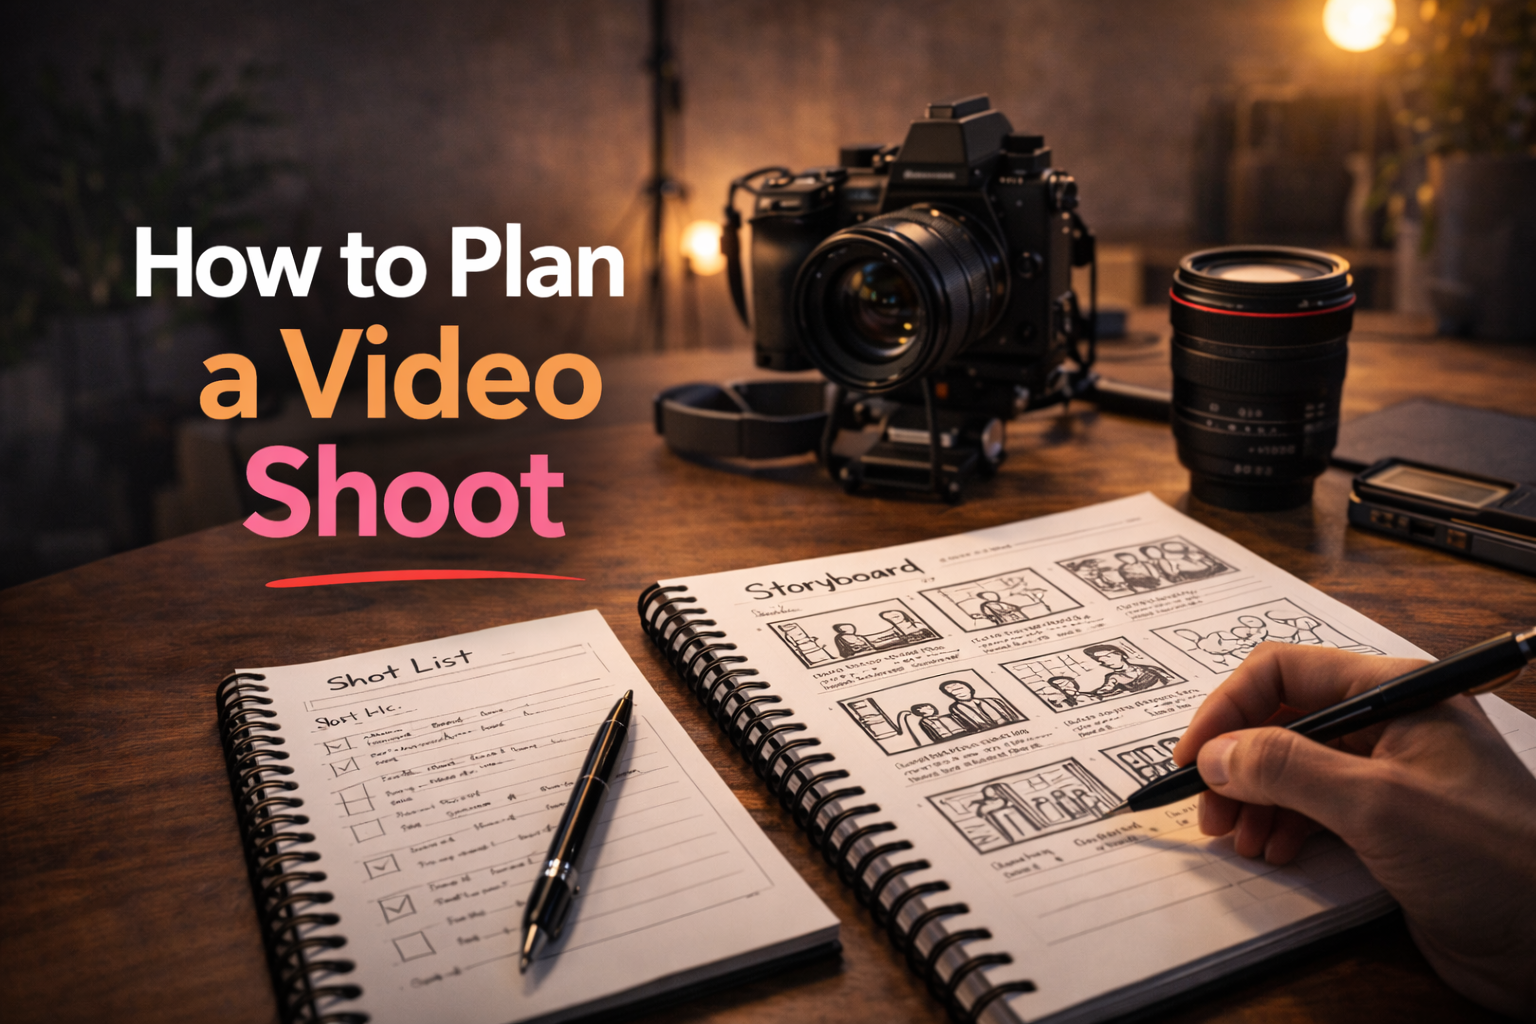
Create a simple shot list
A shot list is one of the most useful planning tools for any video shoot. It is simply a list of the visual elements that need to be recorded. Instead of improvising while filming, you follow a list and make sure all required footage is captured.
Even for a small creator setup, a shot list makes a big difference. It helps you stay organized and prevents missing footage that would later cause problems during editing.
Examples of useful shots
- Main talking-to-camera shot
- Close-up details of equipment or product
- B-roll of the workspace or environment
- Screen recording if the video includes software or tutorials
- Intro and outro shots
If the video is more complex, you can also separate the shot list by scene, camera angle or sequence.
Prepare the location before recording
The filming environment has a major impact on the final quality of the video. A good location helps with lighting, sound and composition, while a poor location creates distractions and technical problems.
Before recording, check the space carefully. Make sure the background matches the style of the video and does not contain anything distracting. Pay attention to natural light, reflections, ambient noise and room layout.
- Check the background and visual distractions
- Control noise as much as possible
- Make sure lighting conditions are usable
- Confirm there is enough room for the camera and movement
Check all equipment in advance
One of the most common production mistakes is losing time because something was not checked before filming started. Battery issues, audio problems or missing memory cards can ruin a shoot or force unnecessary delays.
A short equipment check before every session can prevent most of these issues.
- Charge batteries for camera, lights and microphone
- Prepare memory cards or storage
- Test microphone and audio levels
- Check focus, exposure and framing
- Confirm all cables, mounts and accessories are ready
This part may feel simple, but it has a big impact on how smooth the shoot feels once recording begins.
Plan the shoot sequence
A good shoot usually follows a logical order. Instead of filming randomly, creators should define the sequence of what gets recorded first, what comes next and what can be left until the end.
For example, you might start with the main content while energy is high, then record supporting shots, detail shots and closing scenes afterwards. This makes the shoot easier to manage and helps maintain momentum.
Simple example of a shoot sequence
- Set up camera, lighting and audio
- Record the main talking-head sections
- Capture supporting B-roll shots
- Record close-ups or demonstrations
- Finish with intro, outro or extra takes
“The smoother the shoot sequence, the less mental energy you waste during production.”
Film with editing in mind
The best way to plan a video shoot is to think about editing before filming starts. If you already know how the final video should be structured, it becomes easier to capture the exact footage you need.
This means recording extra transition shots, alternative takes for important lines and B-roll that can help cover cuts later. A little planning here makes post-production much easier.
Creators who think ahead during filming usually spend less time trying to fix missing footage in the edit.
Review the footage before ending the shoot
Before you finish the session, always review the footage. This is one of the simplest habits that prevents major editing problems later.
Check that:
- Audio is clean and understandable
- Focus is correct
- Lighting is consistent
- The key shots were actually captured
- No essential take needs to be re-recorded
It is always easier to fix a missing shot immediately than to discover the problem once the gear is already packed away.
How Peliku helps you plan a video shoot
Peliku helps creators organize the production process before filming starts. Instead of keeping ideas, notes, structure and planning steps scattered across multiple tools, you can build a clearer workflow in one place.
This makes it easier to define projects, prepare the shoot, track progress and move from planning to production with more visibility.
Conclusion
Planning a video shoot is not about making production complicated. It is about making the filming stage more reliable and easier to manage.
When you define the goal, prepare the location, check the equipment, organize the shot list and think ahead for editing, the whole production workflow becomes smoother.
A well planned shoot saves time, reduces mistakes and leads to better videos.
Plan your next video shoot
Organize ideas, structure production and prepare shoots more clearly with Peliku.